Account Workspace
About the Account Workspace
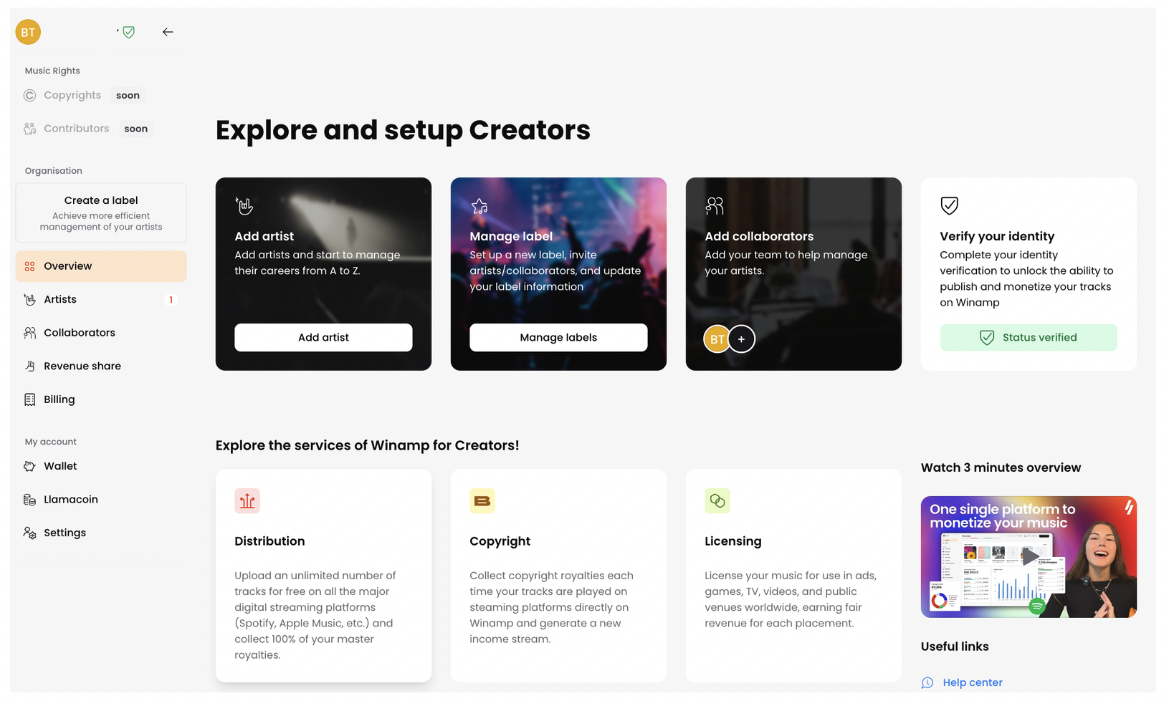
In the Winamp Account Workspace, you can manage your label, artists, collaborators finances and global account settings.
Access the Account Workspace
To access your Account Workspace from your Artist View:
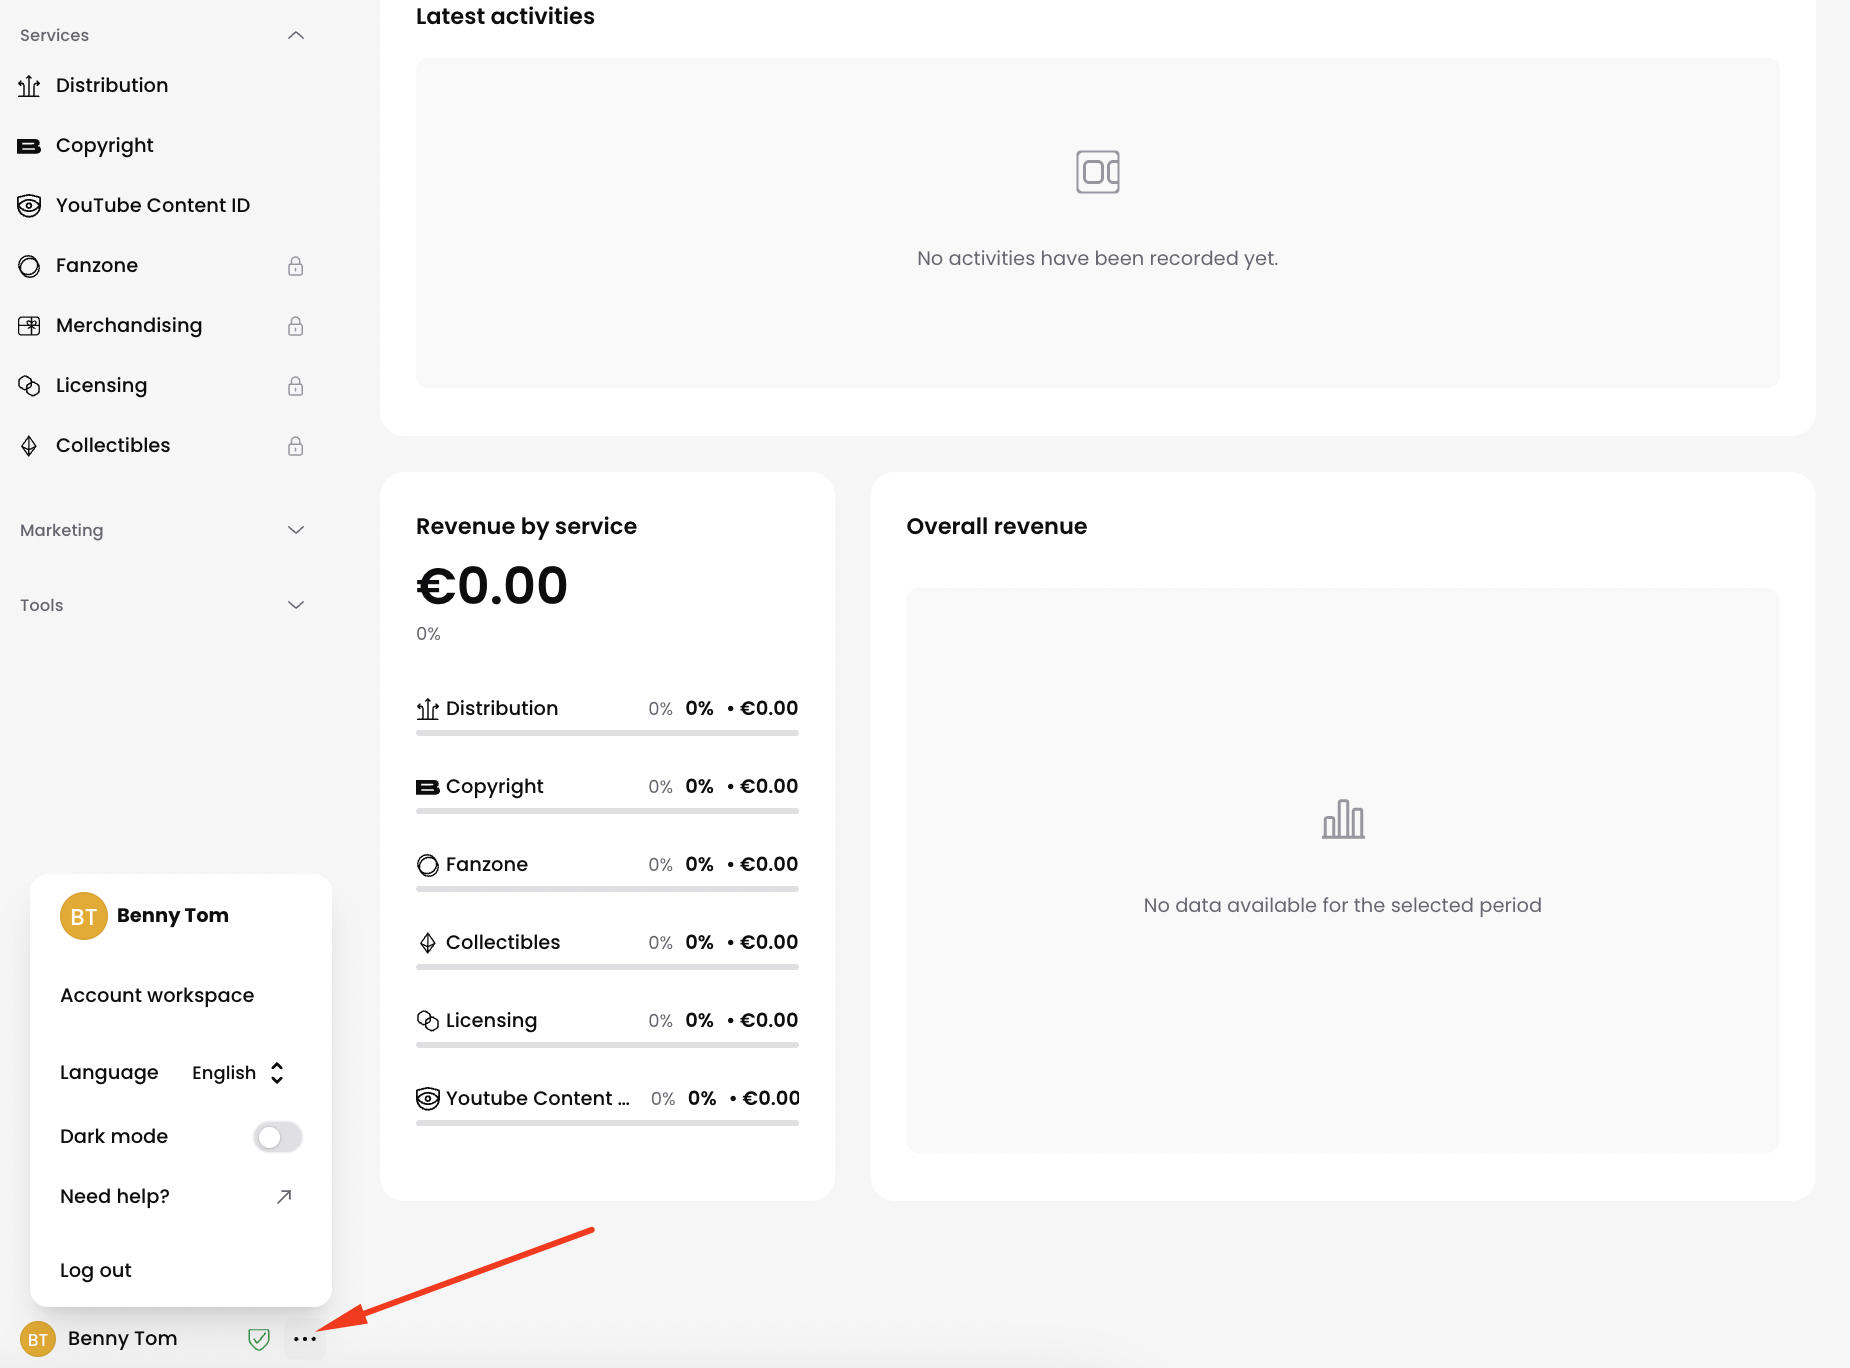
- Click on the three dots next to your name at the bottom left corner of the screen.
- Click on Account Workspace on the pop-up menu:
Artist Management
In the Artist tab of your Account Workspace, you can see all the artists associated with your account. If you've signed up as an Artist, you will only see your profile in this section, however, you can always add more artist profiles.
Adding New Artists
To add a new artist:
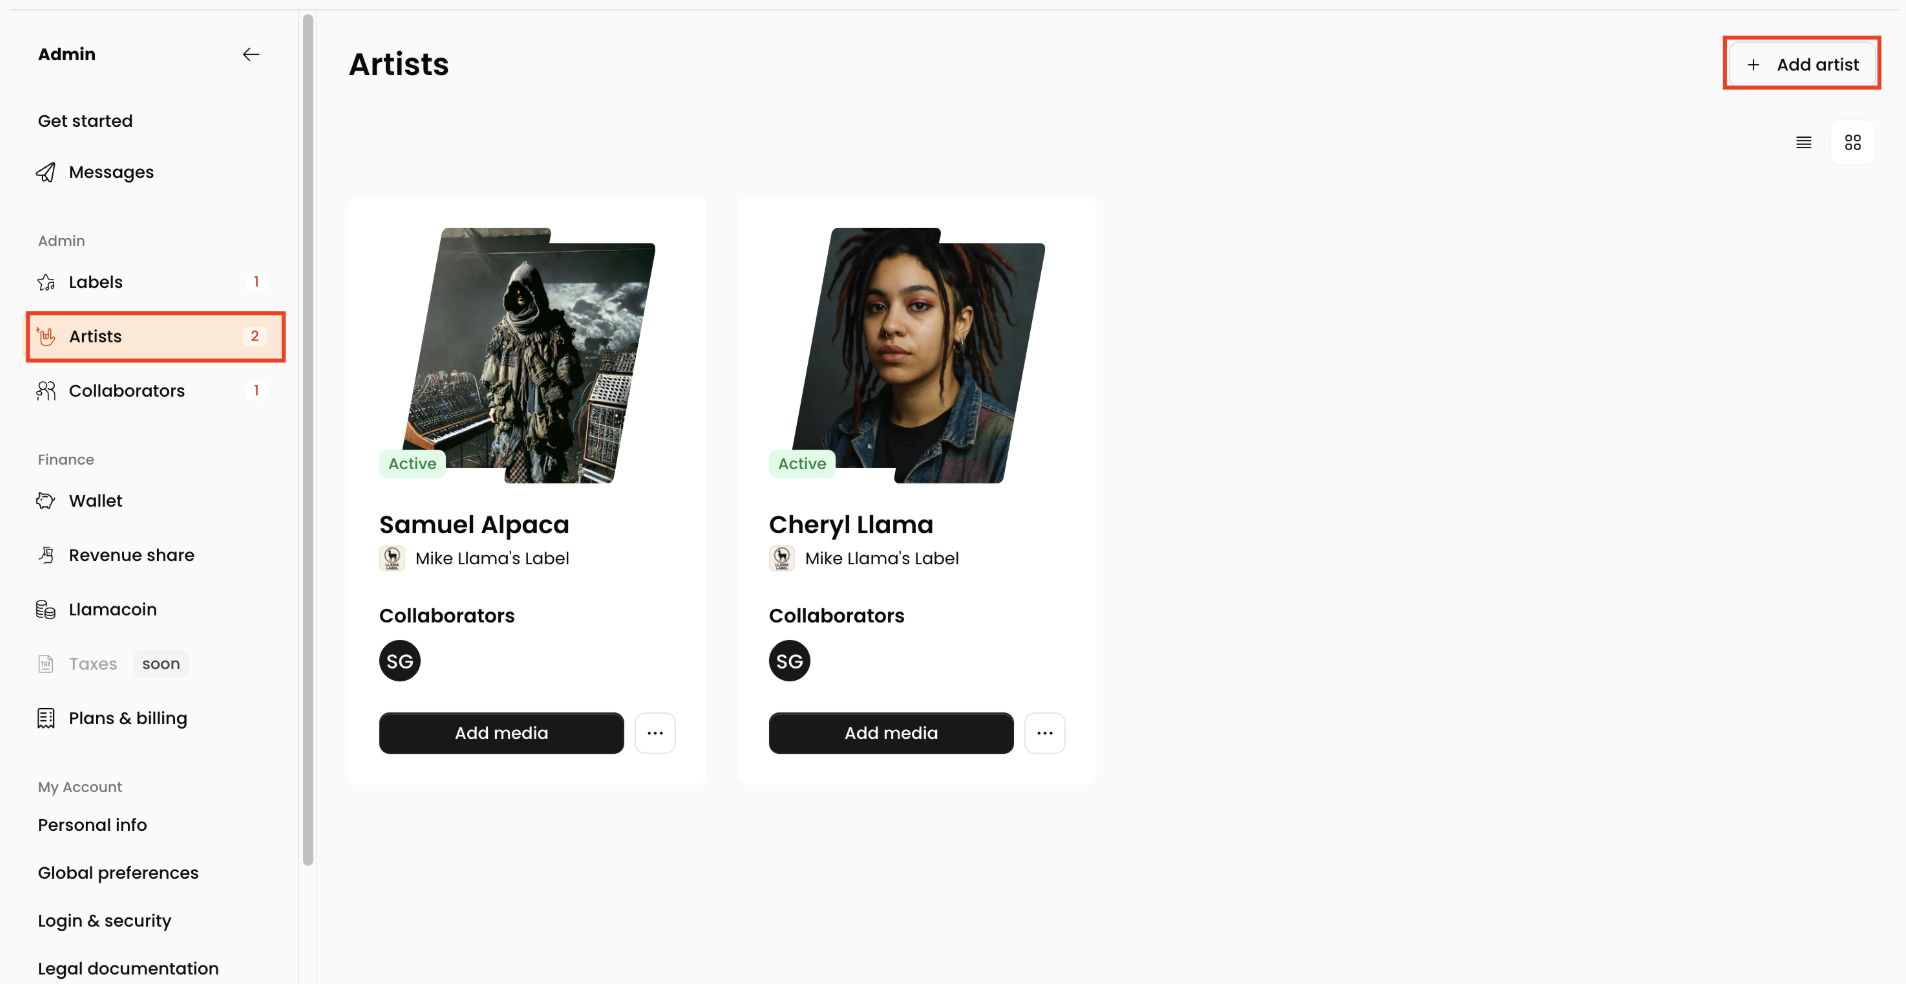
- Navigate to the Artist tab of the Account Workspace.
- Click on the Add artist button in the top right corner of the screen.
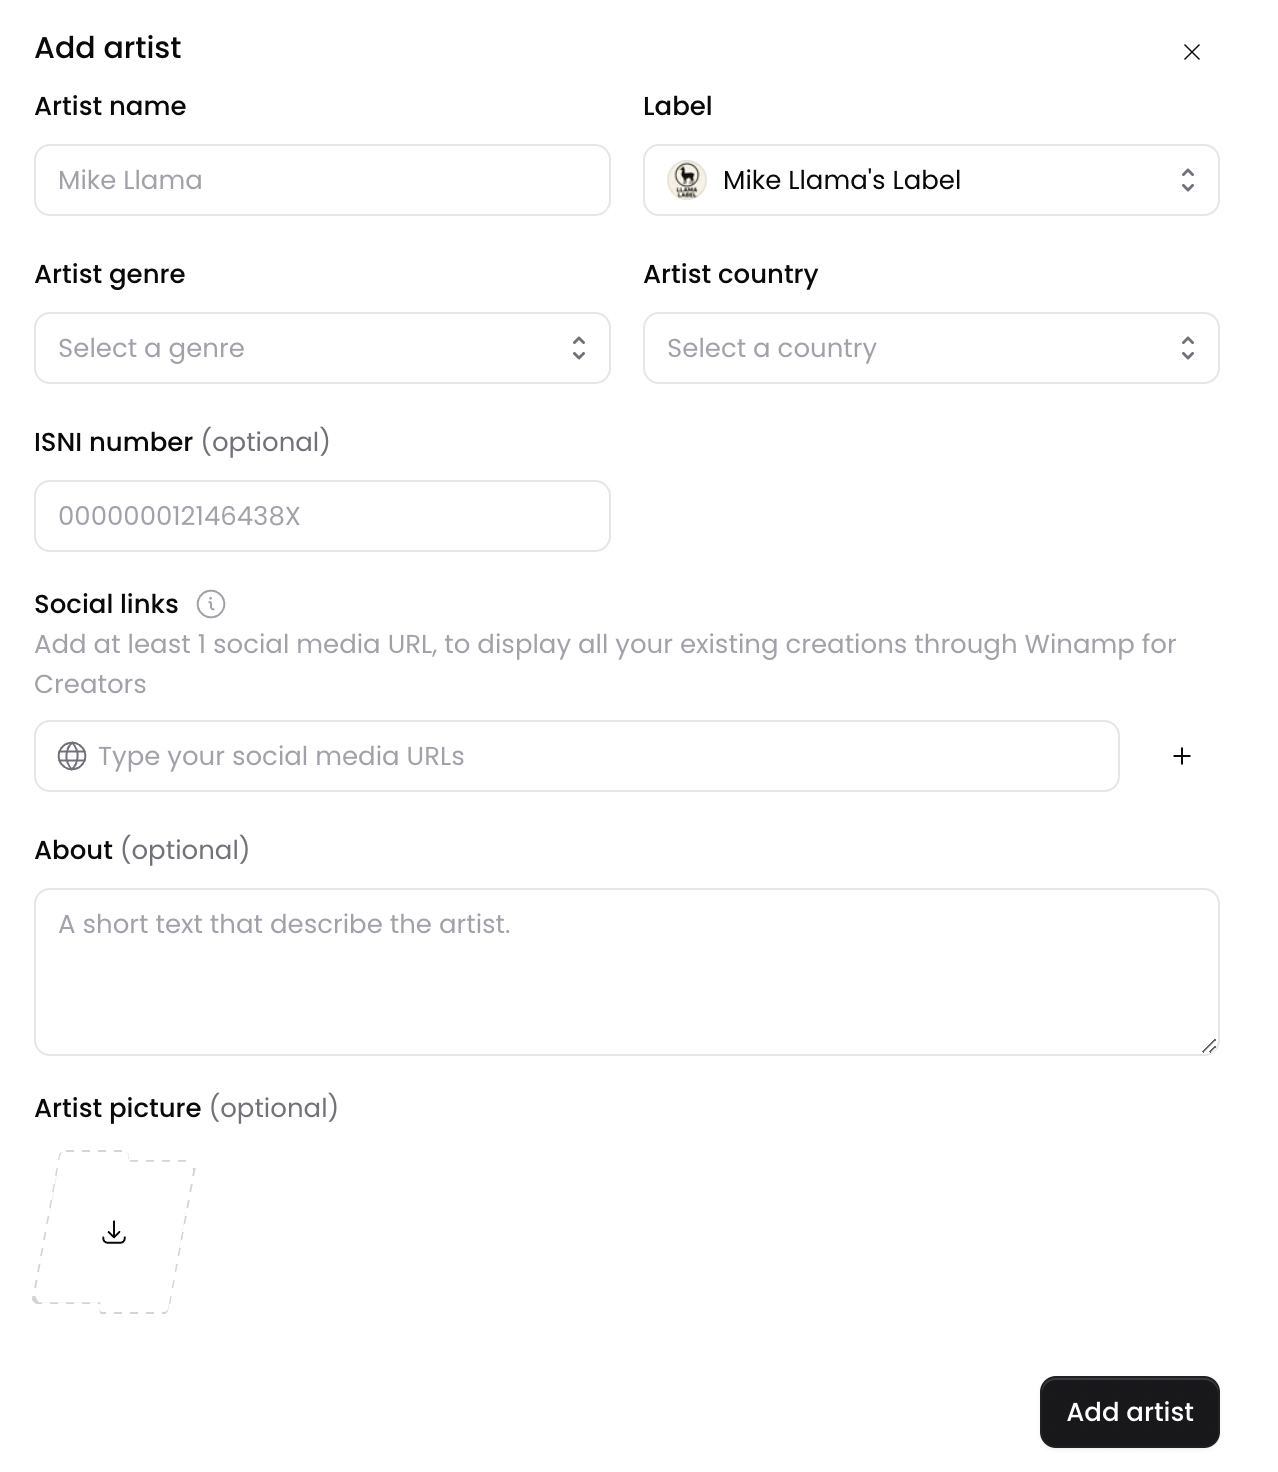
- On the pop up screen, add the artist's details including their artist name, genre and country.
- You can choose to add your artist under the same label as the other artist profiles on your account, or you can select a different label from the Label dropdown menu.
- Next, add at least one social media link associated with the newly created artist and type in their bio in the About section. Finally, upload a profile picture and click Add artist.
Edit Existing Artist Profiles
To edit the profile of an existing artist:
- Navigate to the Artist tab of your Account Workspace in your Winamp for Creators account.
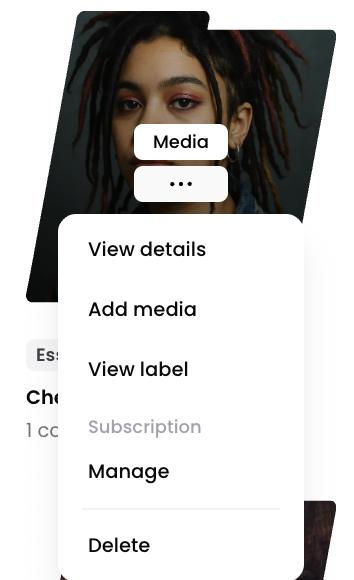
- Click on the artist you wish to edit, click on the three dots and select View details:
- You will be redirected to the artist profile overview where you can edit the artist profile by clicking the Edit button in the top right corner of the screen.
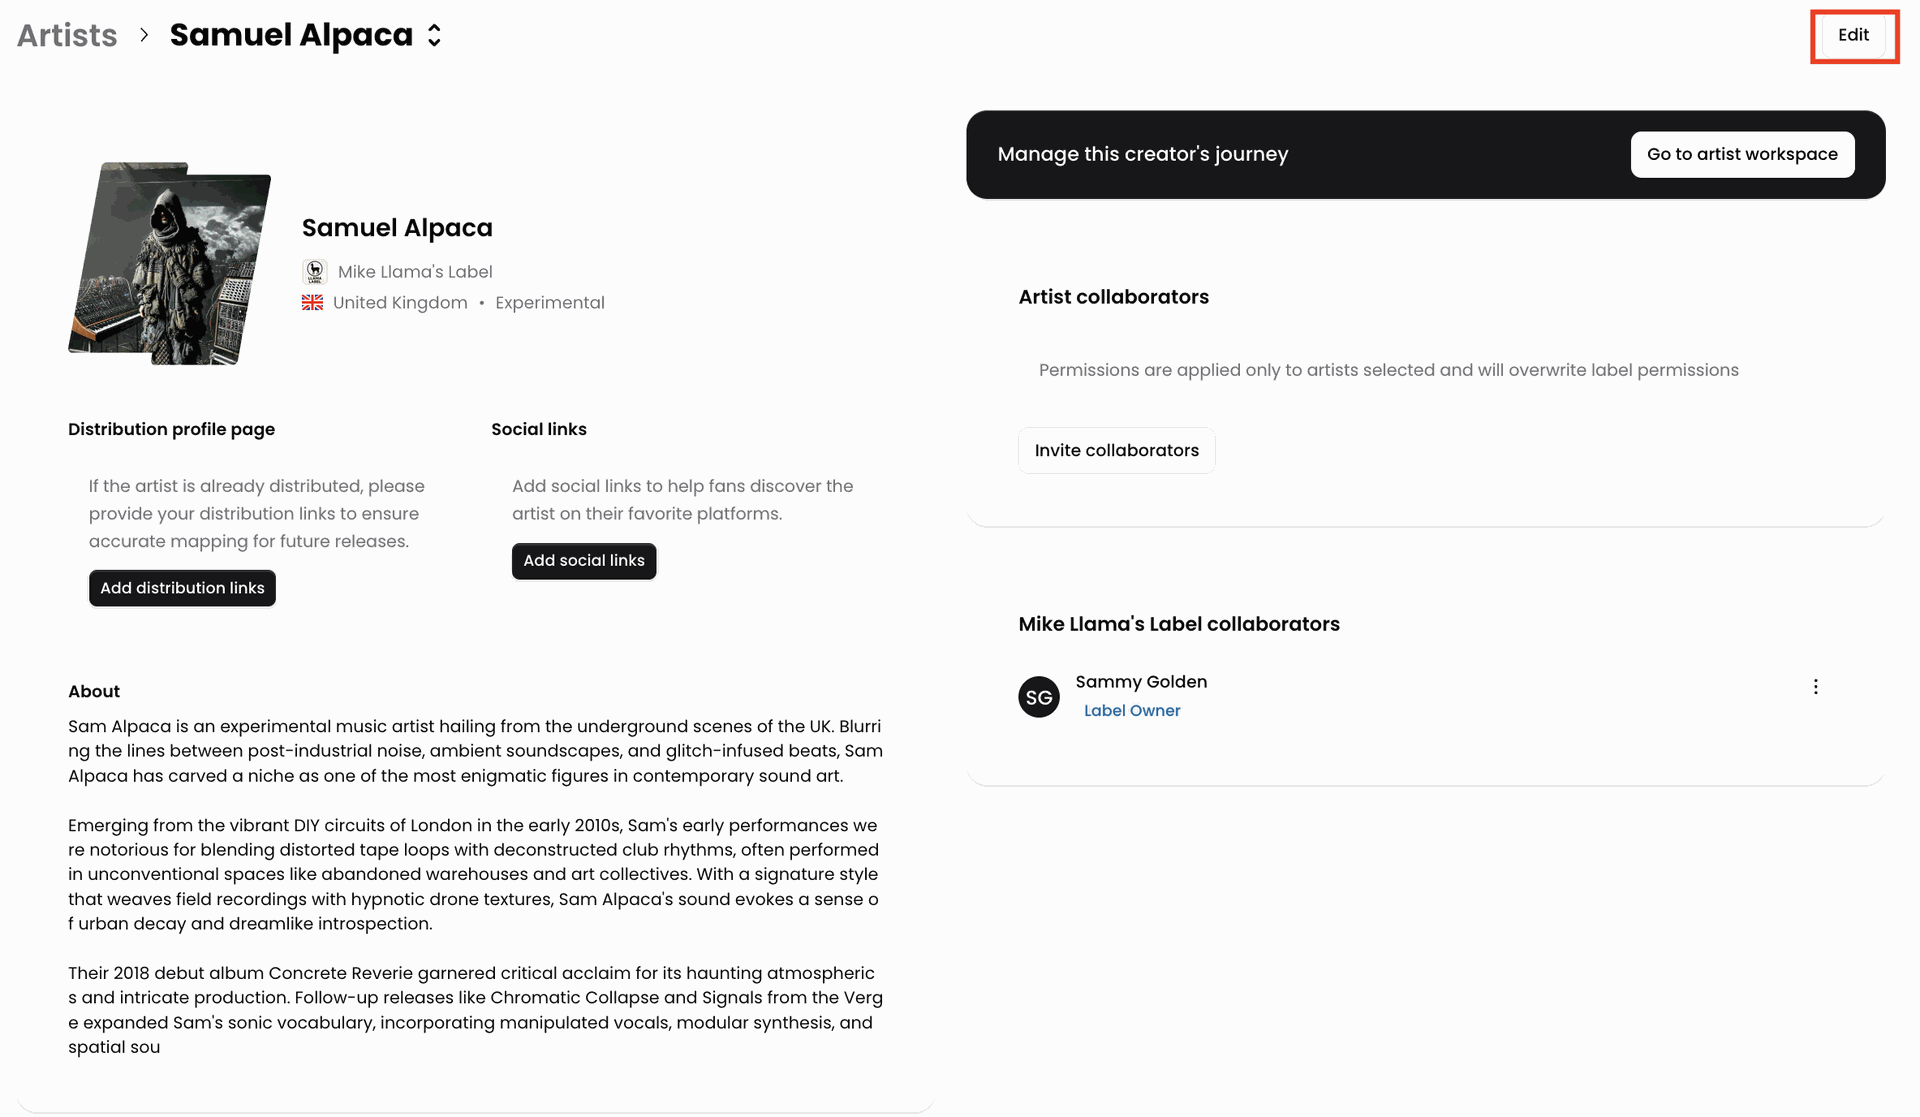
- A pop-up screen will appear where you can edit the artist's details including name, bio, country and profile photo.
- Once you're done, click Save.
Label Management
If you've signed up as a Label, a label will be created for you automatically when you sign up for Winamp for Creators, but you can add one even if you've signed for an artist account.
Create a New Label
To create a new label:
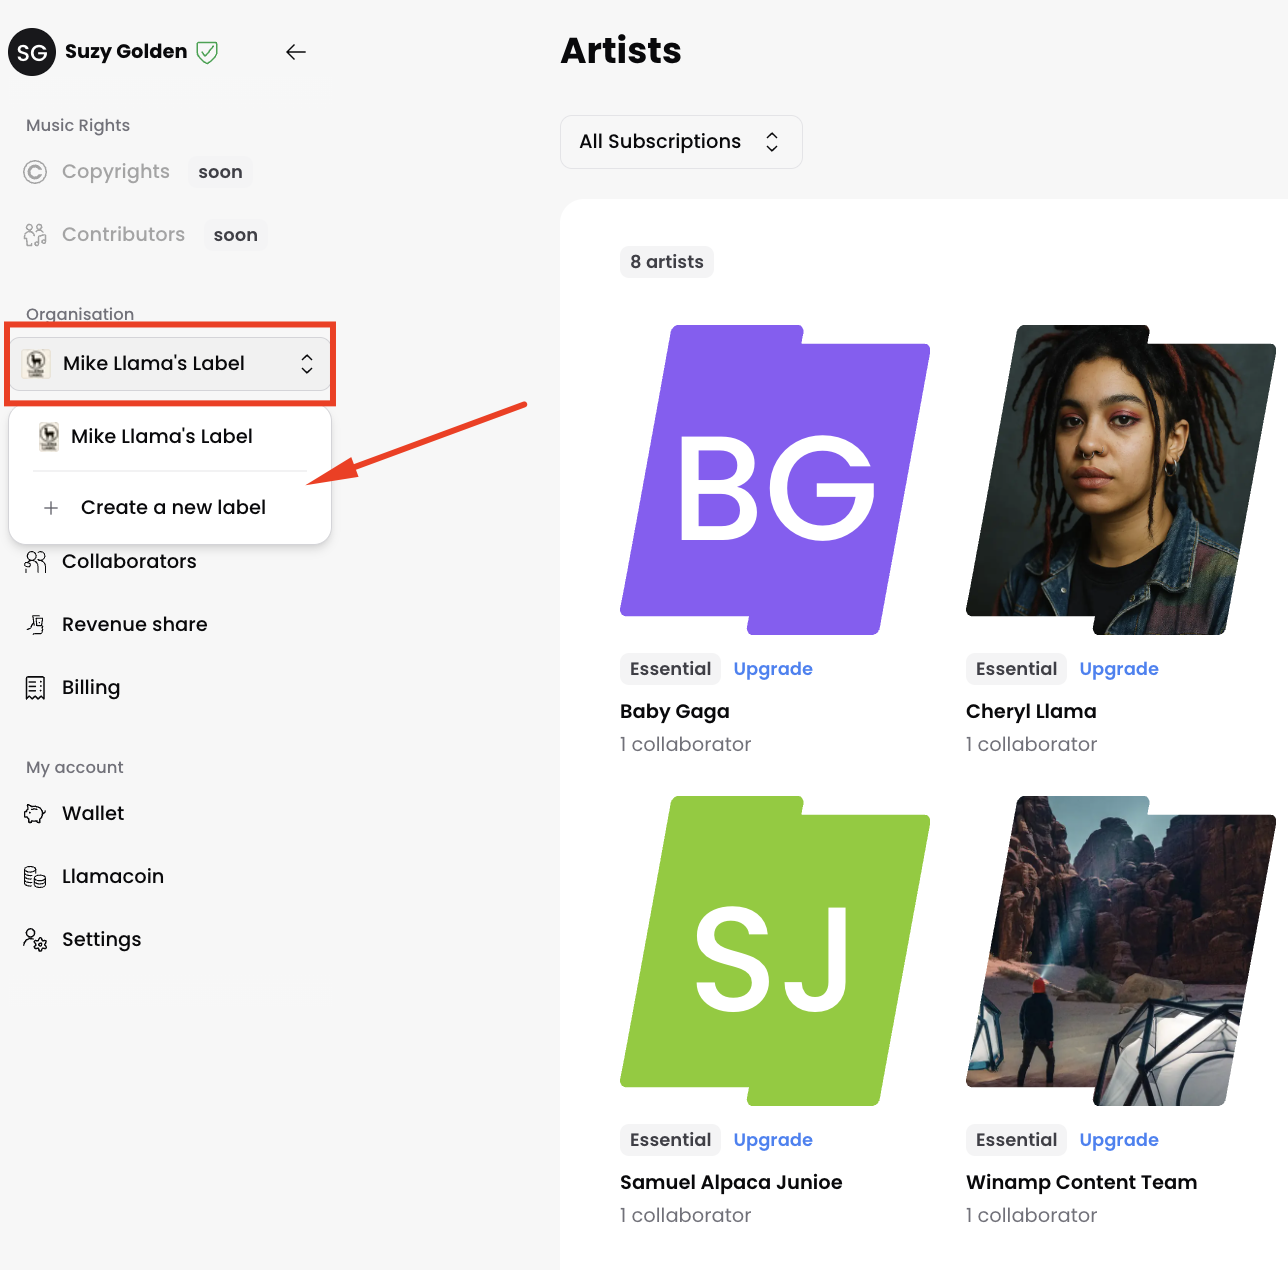
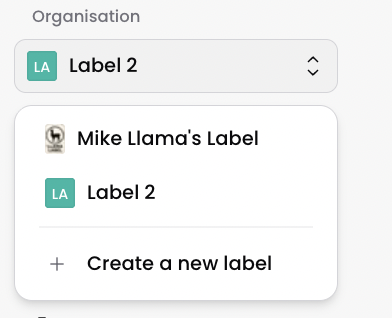
- Navigate your Account Workspace, and locate your label's name.
- Click on it and select Create a new label from the dropdown menu.
- In the pop-up window, add your label's name, description and logo.
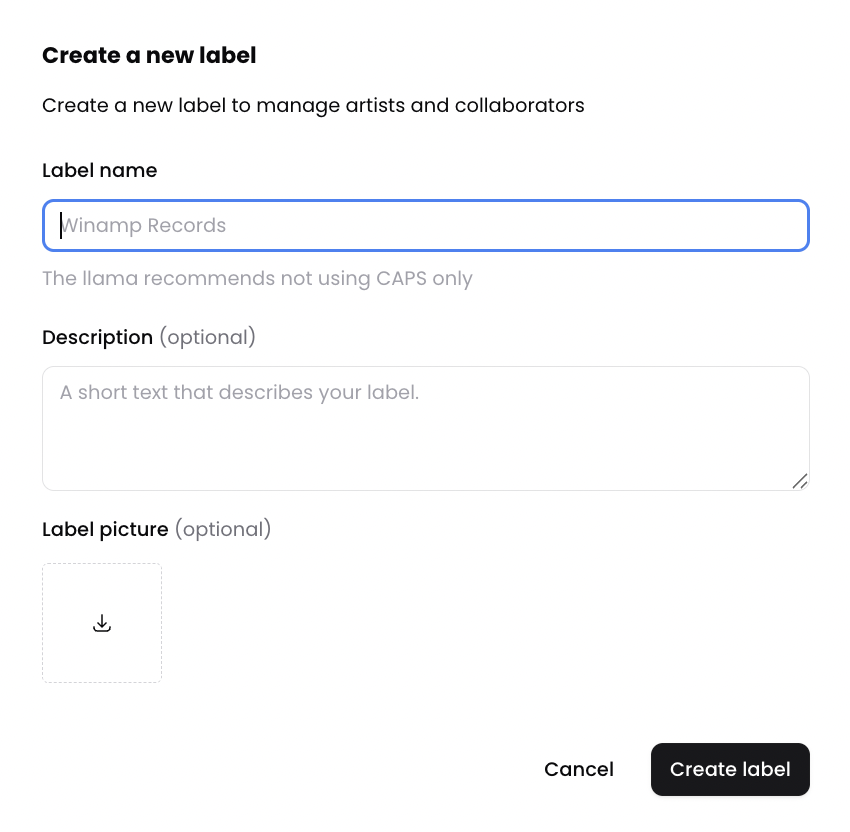
- When you're happy, click Create label.
Switch Between Labels
If you have multiple labels, you can easily switch between them.
To switch between labels:
- Navigate your Account Workspace, and locate your label's name.
- Click on it, and select the label you'd like to see.
- Your view will change and you will see the artists under the label you've selected.
Collaborator Management
With Winamp for Creators, you can invite one or multiple collaborators to your account, including composers, publishers, catalog managers, accountants, graphic designers, and promotion managers. All of your collaborators can have an account, with a role and permissions.
There are two different ways to invite collaborators:
- Artist Collaborator: Invite a collaborator directly from the Artist Profile.
- Collaborator: Invite a collaborator directly from the account dashboard.
Artist Collaborator
To add an Artist Collaborator:
- Navigate to the Artist tab of the Account workspace and select the artist for which you'd like to add a Collaborator.
- You will be redirected to the Artist details view. On the right side of the screen, you will see the Artist collaborators section where you can see all existing collaborators that work with the specific Artist. To add a new collaborator, click on Invite collaborators.
- In the pop up, add the Collaborator's email address and give them a role by selecting one of the premade options. You can also also select an existing collaborator, and assign them to a specific Artist.
- Finally, click on Assign permissions.
An email will be sent to the invited collaborator. To accept the invitation, the collaborator needs to click on Click here to join the button in the email they've received from Winamp for Creators.
Account Collaborator
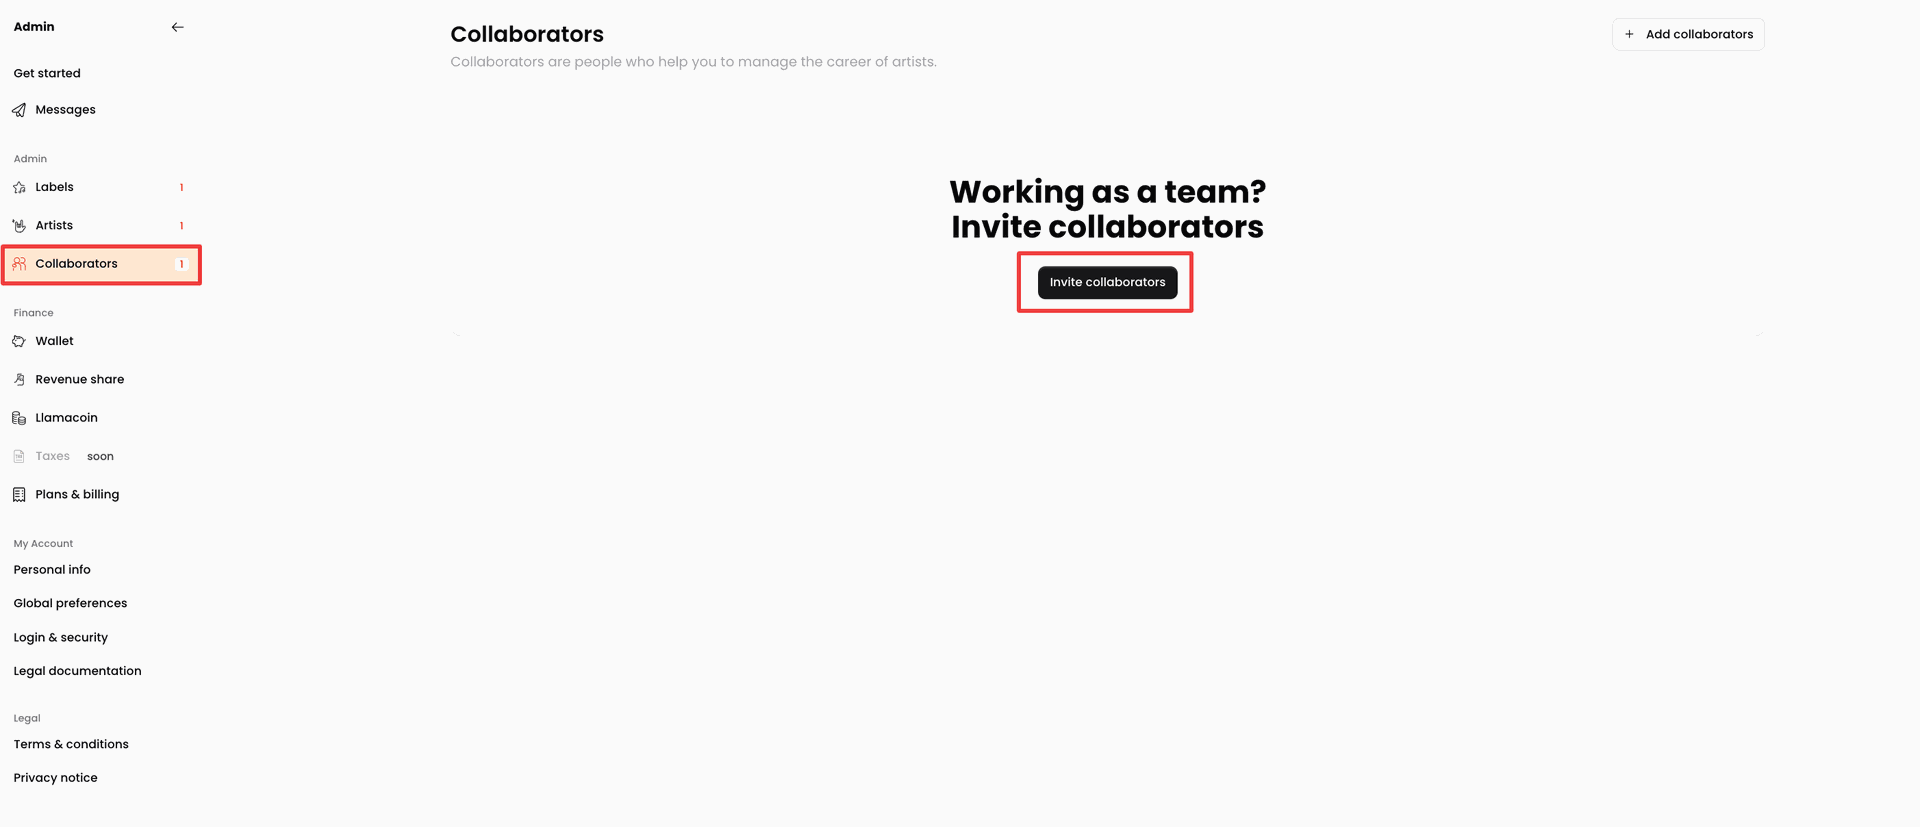
You can add a Collaborator on an account level. To do this, navigate to the Admin section of your account and click on the Collaborators tab from the navigation bar, then click on Invite collaborators:
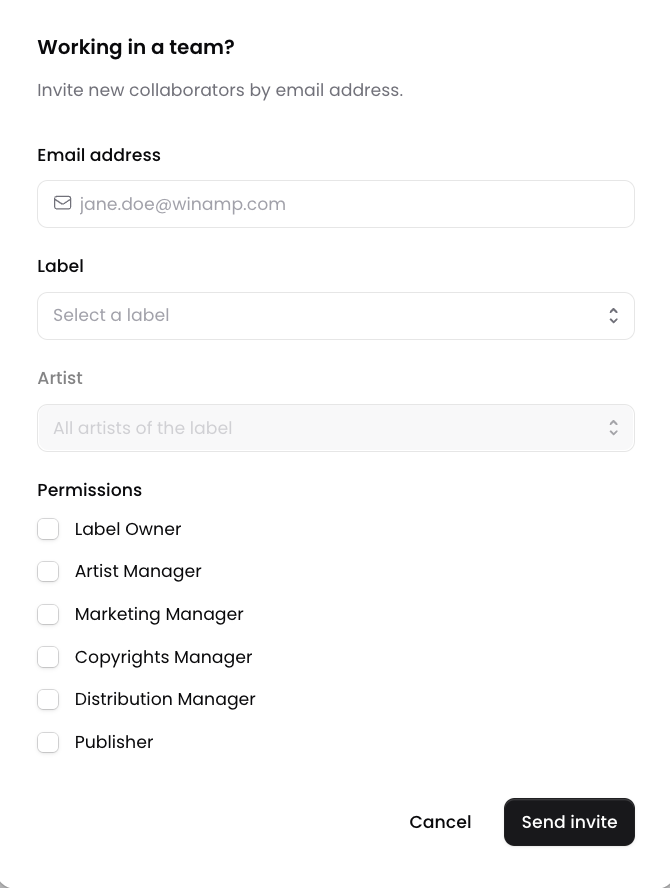
On the pop-up screen, add the email address of your collaborator, as well as the Label and Artist on which the Collaborator will be focusing. Then add the permissions and click Send Invite.
An email will be sent to the invited collaborator. To accept the invitation, the collaborator needs to click on the Click here to join button in the email they've received from Winamp for Creators.
Revenue Share Management
In the Revenue Share tab of the Account Workspace, you can set revenue sharing rules so that you can share the account earnings with your collaborators.
Adding a New Revenue Share Rule
To add a new rule:
- Navigate to the Account workspace and select the Revenue Share tab.
- Next, click on Add a new rule. You will be redirected to the Revenue beneficiary screen where you will specify the revenue sharing rules with a collaborator.
- Start by setting the Beneficiary or in other words, the collaborator that should be receiving a revenue share percentage of your earnings.
- Next, select the collaborator with whom you will be sharing revenue from the Collaborators dropdown menu.You can filter your collaborators by Label to which your collaborators have been added. If you don't have a label, then skip this step.
- Next select the source of revenue. As the revenue is accrued per artist, you can specify the artist whose earnings will be shared with the collaborator from the Artist dropdown menu. You can select one or more artists.
- Then, select the way you will be sharing revenue with your collaborators. You can either share a percentage or a fixed amount.
- To share a percentage of the revenue, choose Percentage % of the Type of sharing dropdown menu and add the % you wish to share in the Rate field.
Next, select the Start date and End date during which you will be sharing revenue with your collaborator.
Select the specific service line from which you will be sharing revenue with a collaborator from the Service dropdown menu.

- To share a fixed rate, choose Fixed amount andspecifythe amount you wish to pay your collaboratorsinthe Amount field, along with the Currency.
Then, specify the frequency of how often you will be paying you Collaborators by selecting the payment interval in the Frequency dropdown field.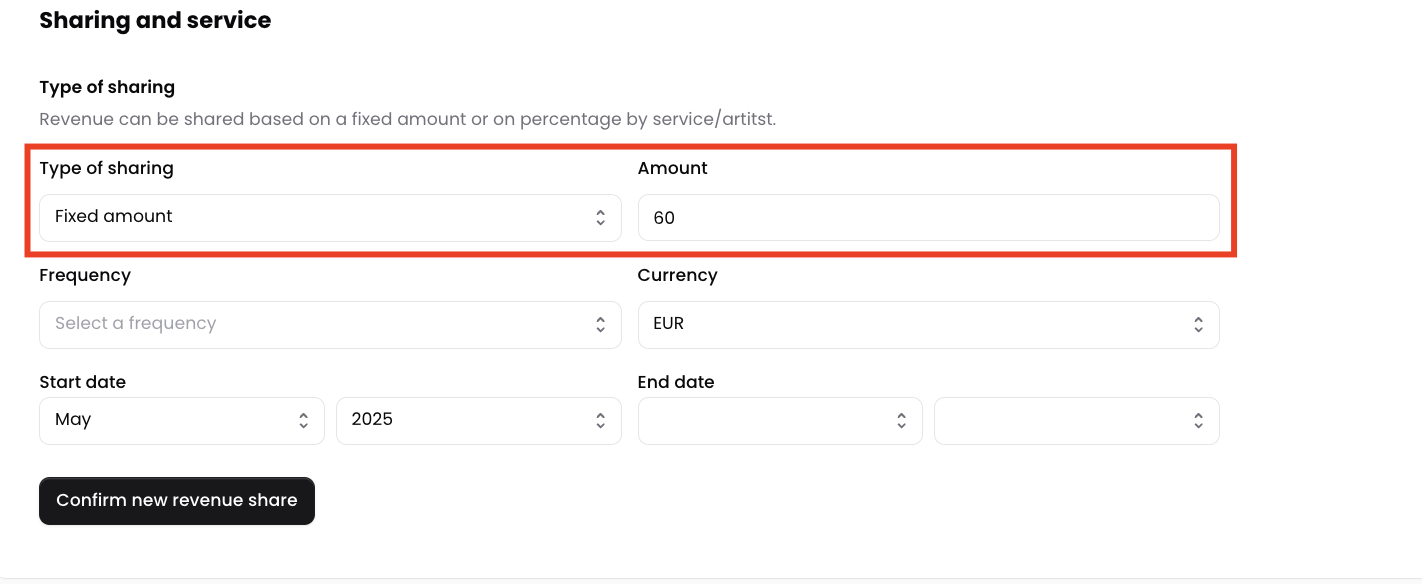
- To share a percentage of the revenue, choose Percentage % of the Type of sharing dropdown menu and add the % you wish to share in the Rate field.
- Once you're done, click Confirm new revenue share.
Billing and Subscription
In the Plans & Billing tab of the Admin dashboard, you can see the active Winamp for Creators subscription plan for each artist.
If you have not selected a Premium subscription plan for one of the artists, they will automatically be added to the Free plan.
Upgrade to a Premium Subscription Plan
If you have not selected a Premium subscription plan for one of the artists, they will automatically be added to the Free plan.
To upgrade your artist profile to a premium subscription plan or upgrade the profile of one of the artists that are part of your label, navigate to the Plans & Billing tab of the Admin dashboard.
Next click the Subscribe button under the artist for whom you'd like to purchase a premium subscription.

You will be taken to our pricing page where you can select your preferred subscription plan by clicking the Get started button located under the plan of your choice.
Next, you will be redirected to our check out page, where you will need to enter your card details, including your card number, cardholder name, expiration date and CVC number.
Once you've paid, you will be redirected back to Winamp for Creators.
Manage your Premium Subscription
If you need to manage your Subscription with Winamp for Creators, please contact us through our contact form.
Wallet
In the Wallet, you can see your current Account balance, withdraw your revenue and manage your payout methods.
Add your PayPal account as a Payout Method
To add your PayPal account as a payout method:
- Navigate to the Wallet tab of your account workspace.
- In the Payout methods section, click Add and select PayPal account from the dropdown menu.
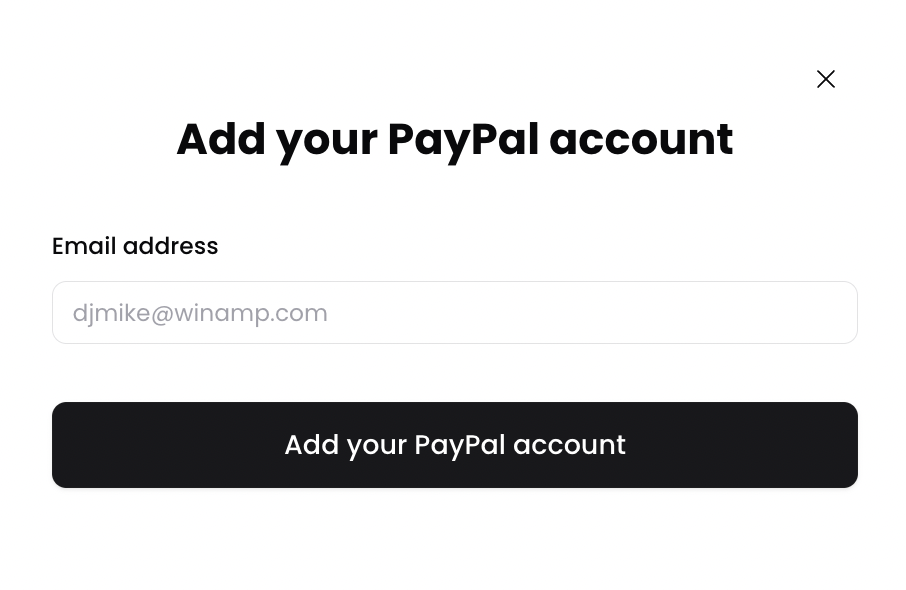
- In the pop-up window, add the email address with which you've registered a PayPal account.
- Finally, click Add your PayPal account to save your settings.
Add your Bank Account as a Payout Method
To add your bank account as a payout method:
- Navigate to the Wallet tab of your account workspace.
- In the Payout methods section, click Add and select Bank account from the dropdown menu.
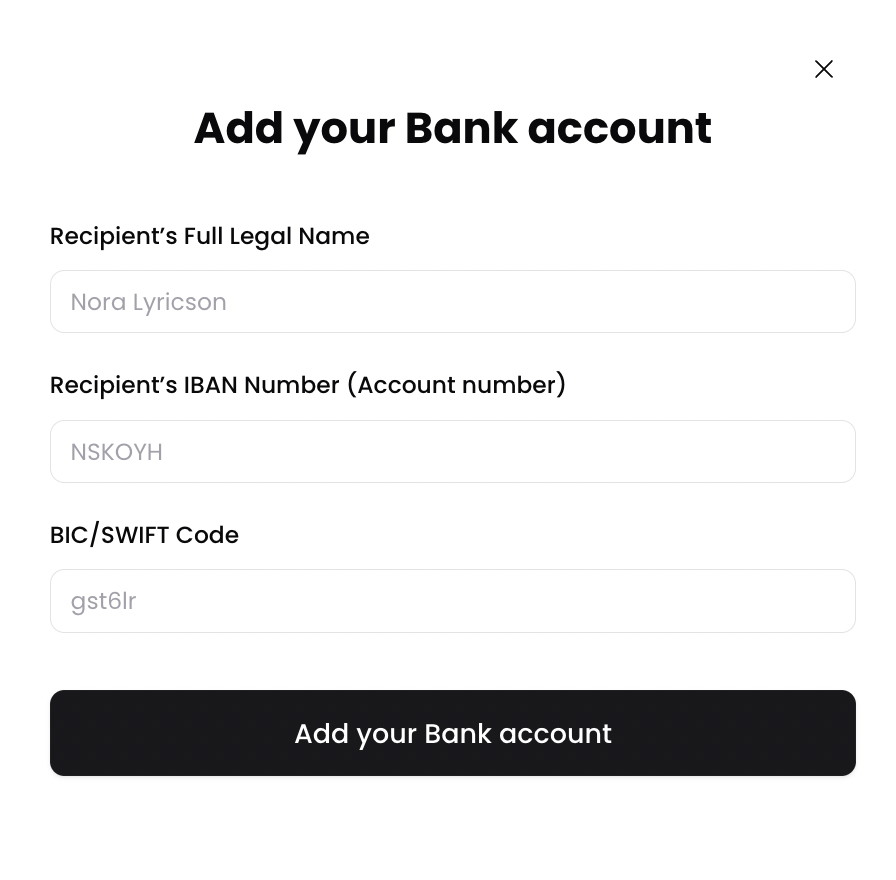
- In the pop-up window, add the full legal name of the bank account holder, your IBAN and BIC/SWIFT code.
- Finally, click Add your Bank account to save your settings.
Edit your Payout Details
To edit your PayPal or Bank account details:
- Navigate to the Wallet tab of your account workspace.
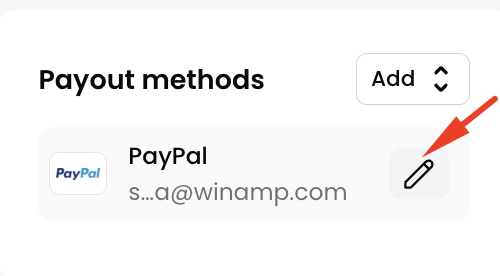
- Hover over the payout method you'd like to edit and click on the small pencil button.
- From the pop-up menu, edit the payout details you wish to change and save your settings.
Withdraw your Earnings
To withdraw your earnings:
- Navigate to the Wallet tab of your account workspace.
- Click on the Withdraw button right under the amount ingested into your wallet:
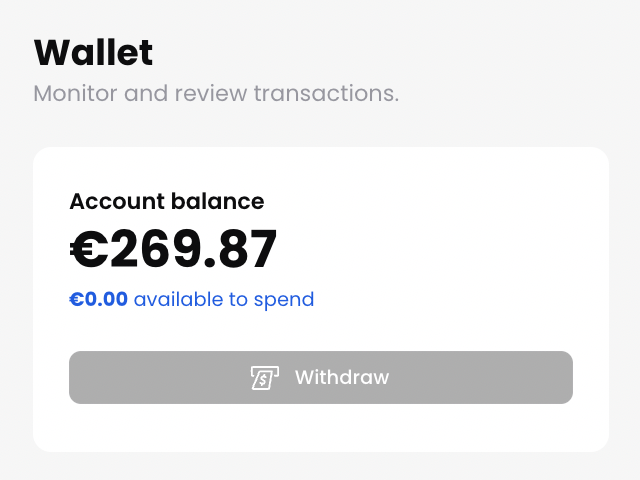
- Once you have initiated the withdrawal of your earnings, it will be transferred to your PayPal or bank account by the 10th of the following month.
Win-Tip
To withdraw the earnings accumulated on your Winamp for Creators, make sure that you add your PayPal or Bank Account details first.
Settings
In the Settings section of your account workspace, you can manage your personal documentation, view your legal documentation and set global preferences such as the account language and currency.
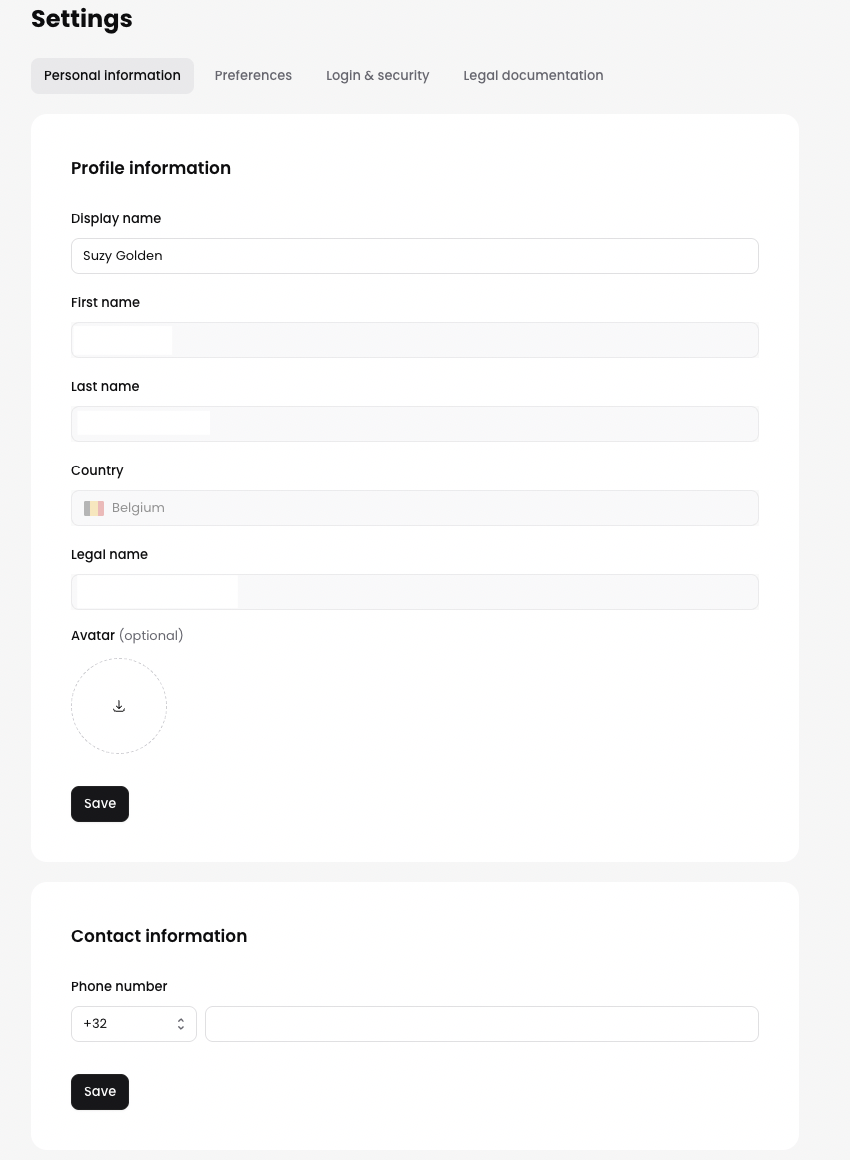
Manage Personal Information
You can view your personal information in the Personal Information section of the Settings tab of your Account Workspace.
Once you've verified your identity, some personal information cannot be managed, with the exception of your Display Name and Avatar.
Manage your Display Name
To add a Display Name:
- Navigate to the Settings tab of your Account Workspace.
- Click on Personal Information.
- Type the desired display name in the Display Name field. Your display name can be anything you'd like and it doesn't have to match your legal name.
- Click Save.
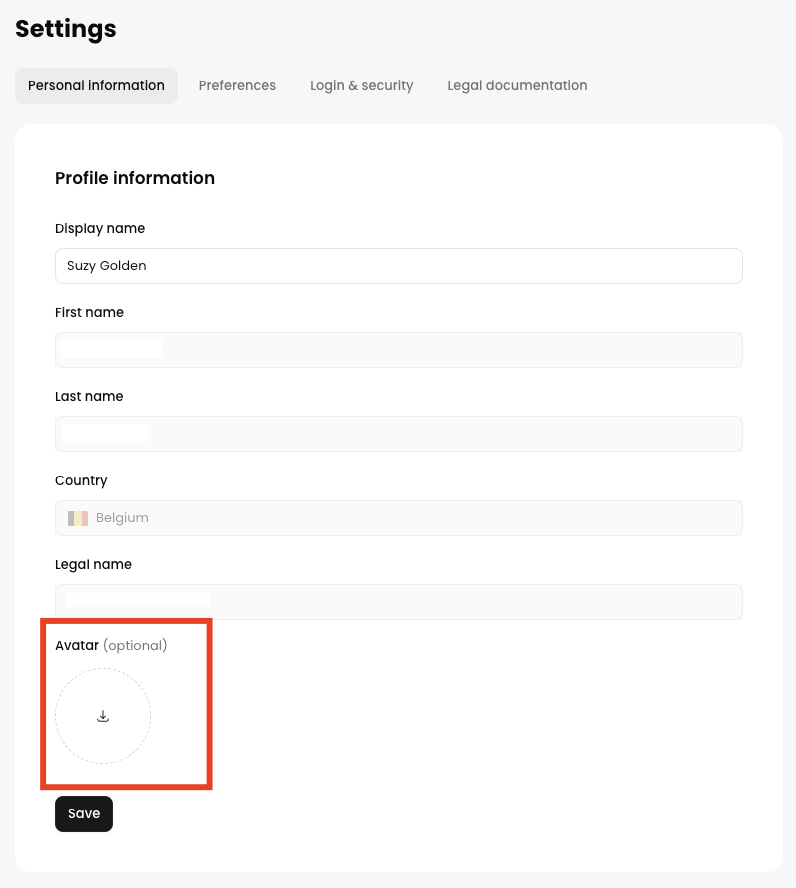
Add an Account Avatar
To add an Avatar:
- Navigate to the Settings tab of your Account Workspace.
- Click on Personal Information.
- Tap on the avatar field.
- Choose an image from your local storage.
- Click Save.
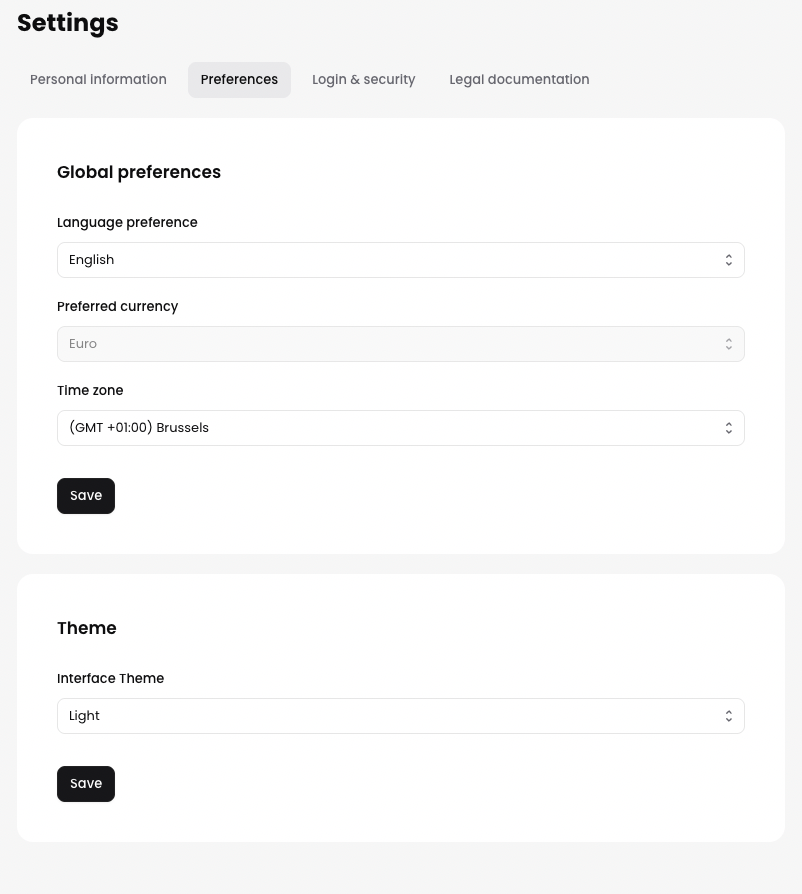
Global Preferences
In the Global Preferences on your Account Workspace, you can specify the your preferred platform language, currency and time zone. You can also choose between a light and a dark theme for your account.
Change Language
To change the language of your account:
- Navigate to the Settings tab of your Account Workspace.
- Click on Preferences.
- Choose the desired language from the Language Preferences field.
- Click Save.
Change Theme
To change the theme of your account.
- Navigate to the Settings tab of your Account Workspace.
- Click on Preferences.
- Choose the desired theme from the Interface Theme field.
- Click Save.